
Hey everyone! I cannot tell you how many times I've been asked "How did you make your blog button?" So I've made a simple to use tutorial for ya'll! =D
No coding on your part. The whole process probably take 10-15
minutes.
Note: All sites linked in this post are 100% free.
.JPG)
Chose your photo your photo to use.

And the below screen is what you should have. =D

Once you have your photo click on the top icon, the weird square. =) Then click on the crop button. Then click the little drop down box and click "Square" this is going to be so your button will fit nicely on the sidebar. Once you've got it how you want it, click apply.

Then go down to "Re-size" and change the number to 200 in the left box and the other box will automatically fill in with the other side.

Then, you should add your blog name, address and anything else you want on the button. You can add texts in the "Tt" section. =)

I like adding a border so it pops a little more but if you do that you'll need to go back and re-size it to 200 by 200.

You can change the color of the border to match your picture. =)

Once you've got it perfect, Click the button above the photo is labeled "Save" then "Save to my computer.
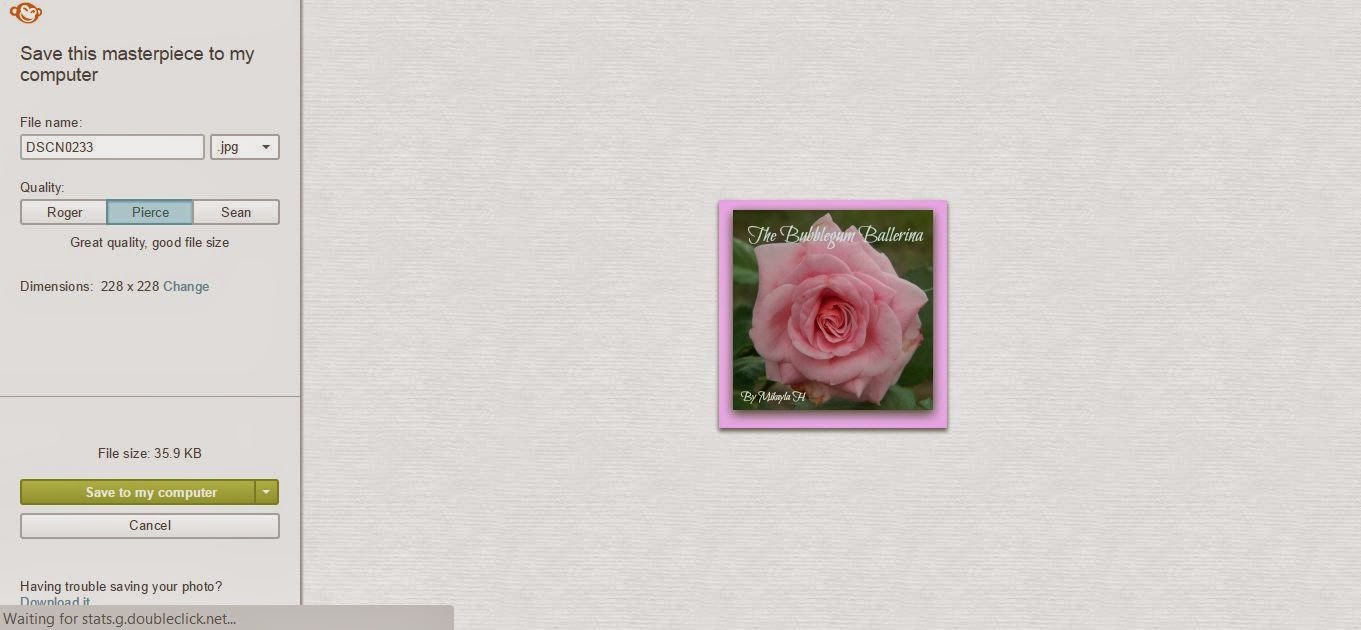
Your button should look like this. =D

Then, go over to photobucket.com and sign up (Its free).

Click, "upload."

Chose from your computer,
.JPG)
Get your photo. =)

Then, in a new tab, open up http://www.mycoolrealm.com/sandbox/gbgen/

It should be really strait forward what information to type in.

When it asks you for your image url go over to Photobucket, click the photo and then "Grab direct link" on the right hand side and put it in where the other site directed.

Finish putting in all the other information.

Then click "Preview".

It will close the preview and take you down to this box, where you should copy the code.

Now its time to install the button on the blog! =D
The following part of the tutorial is for people with blogs run by blogger only.
You can close PhotoBucket now, and open blogger. Click the drop down box to the right of the "View Blog" button and click on the "Layout" button.

Click "Add a gadget"

Scroll down until you get to "Html/Java Script" and click the plus button.

Past the code into this box and click "Save."

Volla! Its done! =D

I hope that made sense and you we're able to make a good blog button out of that! =D
If you have any questions, or if you have any trouble just drop me a comment and I will try to help as best I can!
-Mikayla-
This is SO helpful, Mickayla! I have a friend who is trying to make a blog button, but I couldn't find a proper tutorial to pass on to her. Now I have one! :D
ReplyDeleteThank you for taking the time to make this up. :)
I'm so glad! =D I hope it works well for her! =D
DeleteYour more then welcome, I was glad to do it! =D
-Mikayla-
Thanks for the tutorial, Mikayla! :) It's very helpful!
ReplyDelete-Micaiah-
Your welcome Micaiah! I hope it works for you! =D
Delete-Mikayla-