
In one of my recent polls a lot of you said you wanted to see tutorials. I have to admit, at first I was daunted by this because it seemed to me all the people doing tutorials were doing ultra awesome stuff like wall quotes, felt models, and stuff like that. I'm not promising this will be that cool, but it is a simple little thing I made up. =)
Paint sample bookmarks.

Supplies needed:
Paint samples.
(The long strips of seven colors. Can be found at Walmart.)
Stickers:
I recommend black with clear backgrounds.
Ribbon:
Very thin ribbon. If you can only get one color I would recommend white.
Corner rounder:
If you have this tool I would recommend using it.
Hole punch:
You can also use shape punches such as heart, star, or square.
Below are all my supplies.

1. Start by picking out the paint sample you want to start with.
 |

I picked blue.

2. Cut off two of the chips. This is so that it will be the avrage size for a bookmark. I took one off the bottom and one of the top so I was left with the middle colors.
Make sure to cut off the white strip, it will make it look better.

And you're left with the middle five chips.

3. Next grap your corner rounder and punch off the corners of the chip. If you don't have a corner rounder you can just use sisors. =)


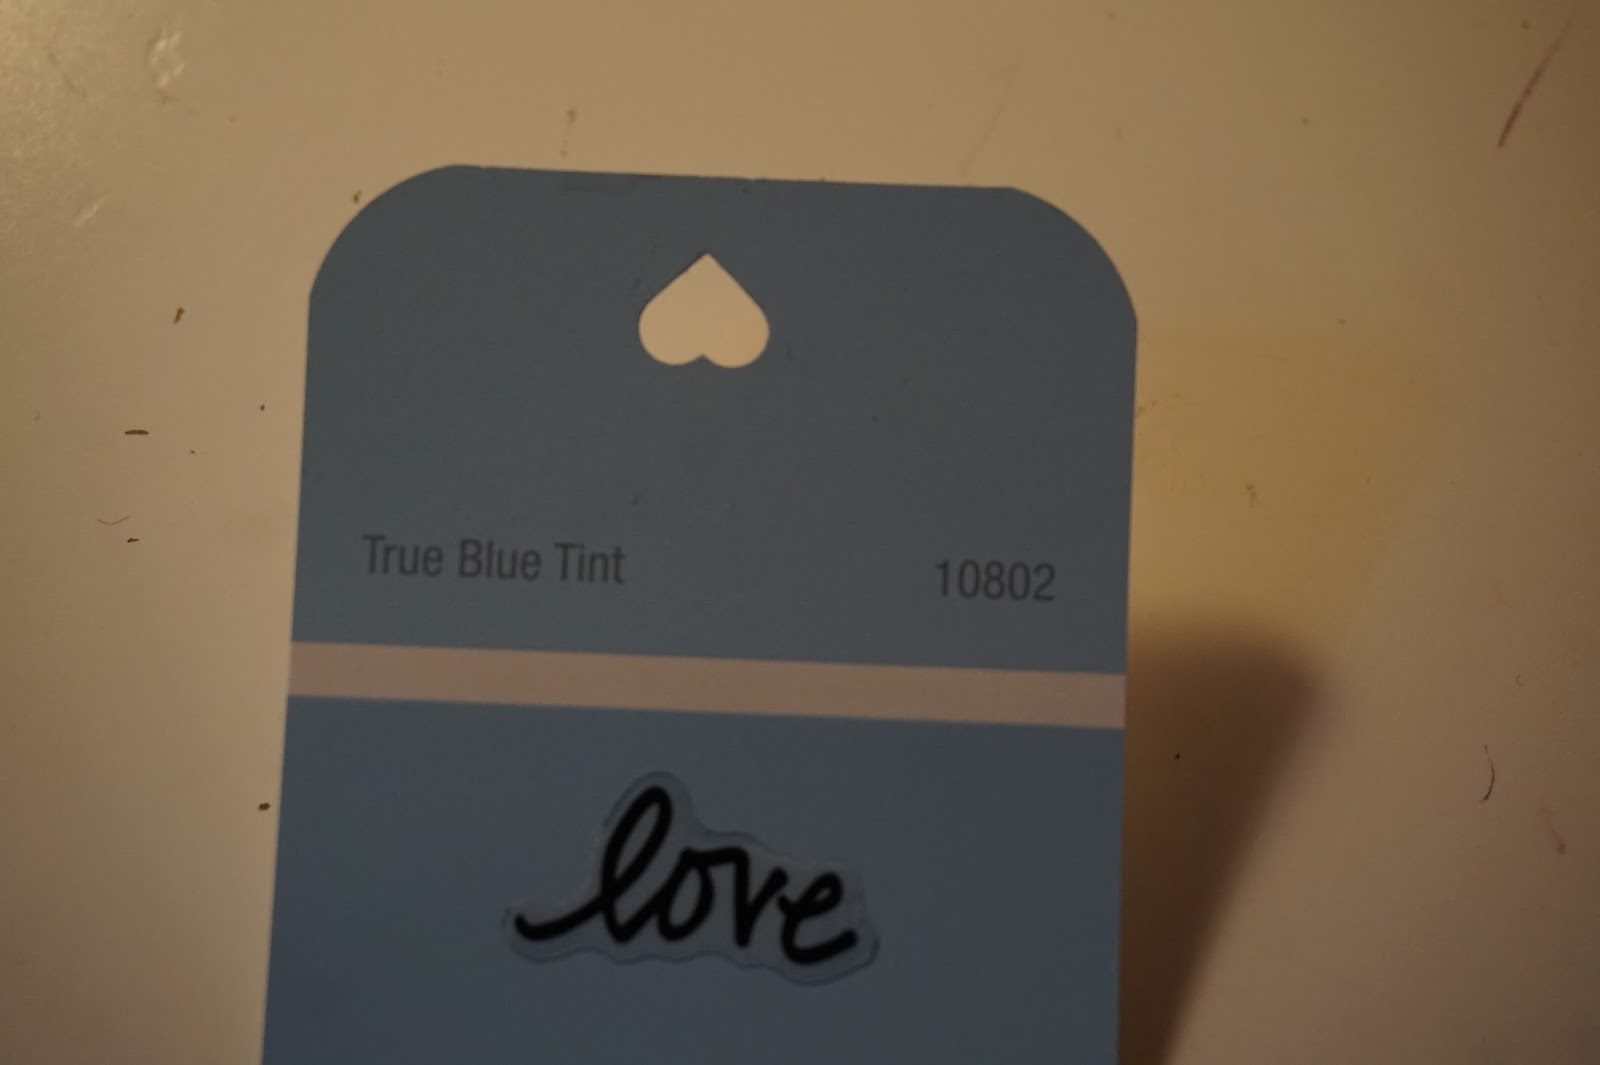
4. Pick your stickers and apply them. I would recommend not putting any stickers in the top box because that's where your hole is going to go and you want to make sure to leave room for that.

5. Pick a hole punch.

I chose a heart.

Line it up to the center of the top and punch it.

See, isn't it cute??
6. Pick a ribbon.

Then cut off a foot worth of it.

Fold it in half.

Then put the loop half through the hole..

and the thread the free ends through the loop!

Pull that tight!

And there you go. That is a simple way to make some cute bookmarks! =D


Don't throw away those chips you cut off yet! I'll be back soon with a tutorial on a project you can do with those to! =D
-Mikayla-
Did you enjoy this?
Do you think you'll try it?
OH MY WORD. SO cute!!! Did you come up with this?!?! This is *amazing*. Perfect gift ideas, too!!
ReplyDeleteThanks! =D I saw a picture of something similar on Pintrest, but came up with the process myself. =D
Delete-Mikayla-
Cute!! I made paper beads out of chips. lol!
ReplyDeleteCool! Did you have any problems with how stiff the chips were?
Delete-Mikayla-
No, I have a different sort of chips..they are a little thinner but they are bigger so I can make more beads out of them. So many colors!! ;)
DeleteCool! Thats fun! =D
DeleteHey Mikayla! You were nominated for the Sisterhood of the World Bloggers Award, here: http://spreadingmyjoy.blogspot.com/2015/07/the-sisterhood-of-world-bloggers-award.html
ReplyDeleteAllie D.
www.spreadingmyjoy.blogspot.com
Thanks Allie! I will do that as soon as I can! =D
Delete-Mikayla-
You're SO welcome, Mikayla! I love your blog! :)
DeleteAllie D.
www.spreadingmyjoy.blogspot.com
Thank you! =D
DeleteI LOVE it! So cute! :D
ReplyDelete-Hannah M
Thank you Hannah! =D
Delete-M-
This is absolute genius!! I love it!!
ReplyDeleteI don't know about the genius part, but I am glad you like it! =D
DeleteThank you!
-M-
Love this! So simple but cute!
ReplyDeleteThanks! =D
Delete